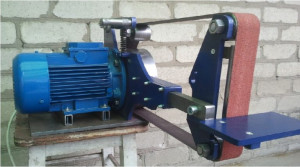
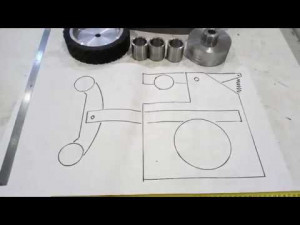
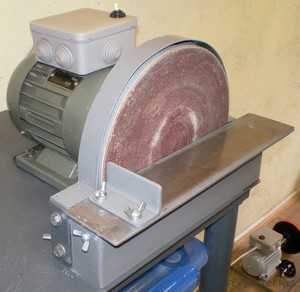
The first thing to do is to find the correct measures so, I picked the sanding belt that came with my sander and wrote down the length needed, taking into account the part that overlaps. The ends are cut to 15 degrees at a specific direction. You need to check out the way the belt is going to run. The sandpaper roll is cut at 92 cm and the angle of cut is parallel to the first one. Here’s how it is going to work. You may want to file the end that is going below to reduce a bit of thickness and provide a flatter surface for the glue. I am bonding the two ends with an epoxy that stays a bit elastic after setting up.

I put a waxed paper in the back of the glue up so I don’t end up with a number eight shape sanding belt. It is clamped with two pieces of wood to even up the pressure and let it set for about one hour before unclamping. It turned out nice and aligned. Let’s clean the machine up a little bit and remove the existing belt. In this case, there are about 7 or 8 screws that need to be removed before disassembling the parts needed to switch the sanding belts and unfortunately it takes some time.

A bit more cleaning… and finally I can switch the aggressive sandpaper to the fine grit one. Pay attention to the arrows in the back of the sandpaper to match the running direction of the machine. Screw everything and try it out! I suggest you use a flexible sandpaper roll that comes with a cloth back or even the velcro type because it is much more resistant than the one with a paper back. Hope you find this tip useful and thanks for watching.


